How to Set Up a Cold Plunge Tank at Home in the UK (Step-by-Step Guide)
Cold water immersion has moved from niche biohacking to mainstream wellness, and setting one up at home is more practical than many assume. Whether you're installing a dedicated chiller unit or using a portable tub, the setup fundamentals are the same: location, water management, temperature control, and safety. This guide walks through each step so you can build a functional cold plunge without costly mistakes.
Choose Your Location Carefully
Location determines half your setup difficulty. Cold plunge tanks need:
Proximity to drainage. This is your first constraint. A 200–300-litre tank holds significant weight and volume. Draining it regularly means you need access to a floor drain, garden outlet, or sump pump solution. Ground floor locations with external walls are ideal; upstairs setups require careful planning around water damage risk. If you're using a portable tub, a patio or garden shed becomes the obvious choice.
Stable, level ground. Uneven surfaces cause water to slosh and can stress the tank structure. A concrete patio, garage floor, or a level garden spot works well. Avoid wooden decking unless it's reinforced; the combined weight of water, tank, and chiller (which adds another 40–60 kg) will cause sagging over time.
Access to electricity. Chiller units draw 1–2 kW continuously, so a dedicated circuit is essential—don't run one off an extension lead. You'll need a weatherproof outdoor socket rated for your chiller's amperage, positioned at least 1 metre away from the tank itself.
Some shelter from weather. If your tank is outdoors, rain falling directly into it dilutes and cools it unpredictably, adding workload to the chiller. A simple cover, awning, or location under a pergola reduces maintenance. Temperature fluctuations from direct sun are less critical than you'd think—the chiller handles it—but UV exposure does degrade plastic tanks over time.
Plan Your Drainage Strategy
Poor drainage causes waterlogging, moulds, and damp. You have three main options:
Direct floor drain. Ideal if you have one nearby. Run a hose from the tank's drain plug and secure it firmly to prevent backflow. Check that your drainage system handles frequent refilling—if it's a slow garden soakaway, large drains can cause pooling.
Garden overflow or soakaway. Most gardens manage 200–300 litres weekly without issue, assuming reasonable soil drainage. On clay soils, water pools; on sandy or loamy ground, it drains quickly. If you're draining weekly, you'll likely be fine. If twice weekly, consider whether the ground stays waterlogged afterward.
Sump pump. For upper floors or gardens with poor drainage, a submersible sump pump in a collection tank moves water to a suitable outlet. This adds cost (£150–300) and maintenance, but it's the only option for some homes.
Don't drain directly onto a neighbour's property or into a surface water system without checking local authority guidelines—some areas restrict this. Chlorinated water drains are generally safe, but excessive volume into soakaways can cause issues.
Set Up Electrical Safety for Your Chiller
Chiller units are the heart of your cold plunge and require proper electrical infrastructure:
Install a dedicated circuit. Your chiller needs its own breaker and circuit. A standard 13A socket won't reliably power most chillers long-term. Hire a qualified electrician to run a radial circuit from your consumer unit—costs typically range from £200–500, depending on distance and whether you need external wiring.
Use a weatherproof socket. An outdoor IP66-rated socket is essential if your chiller sits outside. Ensure it's positioned so cables don't run through water or puddles. A slight slope toward drainage prevents water from pooling around the base.
Check the chiller's amp rating. Most commercial units draw 13–16A. Consumer-grade portable chillers often draw less (around 10A), but confirm before installation. Your electrician will ensure the circuit is sized correctly.
Install an RCD (residual current device). This cuts power immediately if there's a fault, protecting against electric shock. Outdoor circuits legally require RCD protection in the UK; a typical whole-house or socket-specific RCD costs £50–150 fitted.
Cable management. Secure cables away from foot traffic and water spray. Use cable ducts or conduits where they run along the ground. Check regularly for damage or pinching.
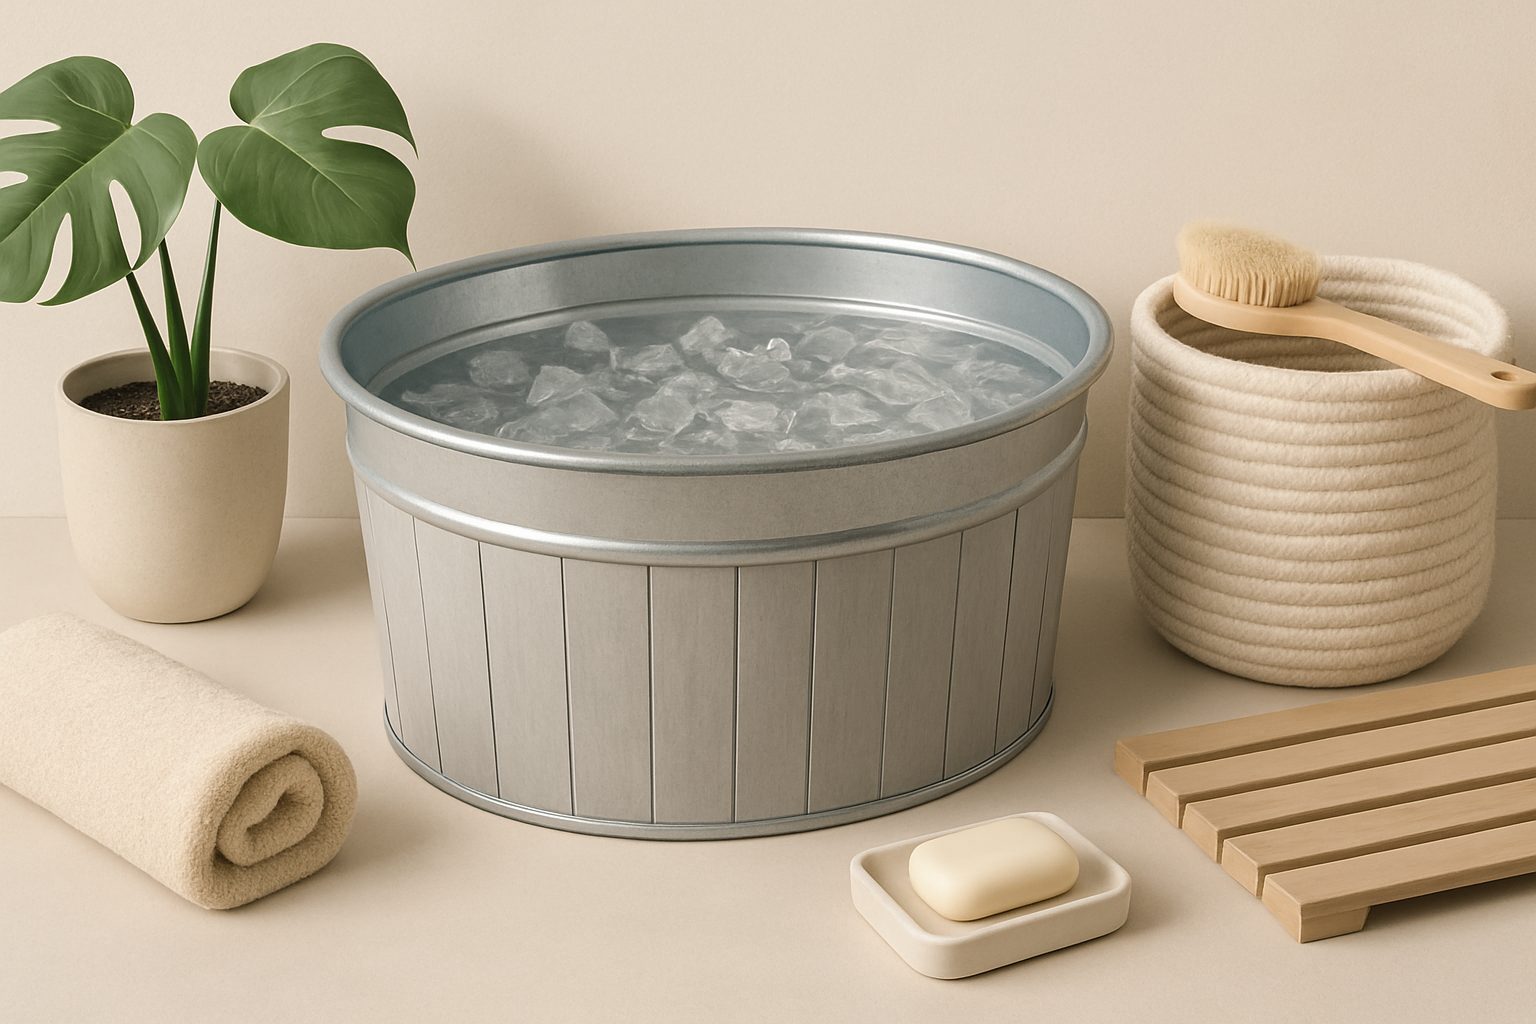
Fill and Pre-Cool Your Tank
Once location and electrics are sorted, filling is straightforward but time-dependent:
Fill slowly with cold water. Tap water is cheaper than ice. In the UK, mains water runs around 10–12°C year-round, which saves significant chiller runtime. Use a hose with a filter to reduce sediment—this keeps your chiller's heat exchanger cleaner longer. Filling a 200-litre tank takes roughly 30–40 minutes.
Run the chiller continuously for 2–3 hours before use. Don't expect the tank to reach 8–10°C on your first day. Chillers are designed for maintenance cooling, not rapid temperature drops. A typical unit cools 1–2°C per hour once the tank is full, so budget 3–4 hours of chiller runtime to reach 10°C from a 12°C start.
Monitor temperature with a reliable thermometer. A simple floating thermometer is fine; a digital probe gives precision. Many users check temperature daily at first, then weekly once they understand their chiller's rhythm.
Top up water weekly. Evaporation and use remove 10–20 litres weekly. Top up with cold tap water to maintain temperature without stressing the chiller.
Essential Accessories and Final Checks
A functioning setup needs a few supporting items: a cover to reduce evaporation and heat loss (saves £15–40/month on electricity), a skimmer net for leaves and debris, and a basic filtration system if you're using the tank multiple times weekly—a cartridge filter (£100–200 installed) keeps water cleaner between drains.
Before your first plunge, check that your circuit breaker holds steady under load, the hose connections are tight, and the chiller's fan isn't obstructed. Test the drain by opening the plug briefly to confirm flow.
Setting up a cold plunge at home takes thought, but it's achievable in a weekend once planning is done. The biggest variable isn't the tank itself—it's getting location and drainage right first.
More options
- Cold Plunge Tubs & Ice Bath Tanks (Amazon UK)
- Inflatable Cold Plunge & Ice Bath Inflatables (Amazon UK)
- Cold Water Chiller & Cooling Units (Amazon UK)
- Waterproof Thermometers & Cold Plunge Accessories (Amazon UK)
- Ice Bath Covers, Steps & Recovery Accessories (Amazon UK)